Trip Waivers

Skip paperwork on the day of trip when customers fill out their waivers beforehand! In this article, we'll review how to upload preexisting waivers, how to use our waiver builder, and the waiver process.
Accessing Waivers
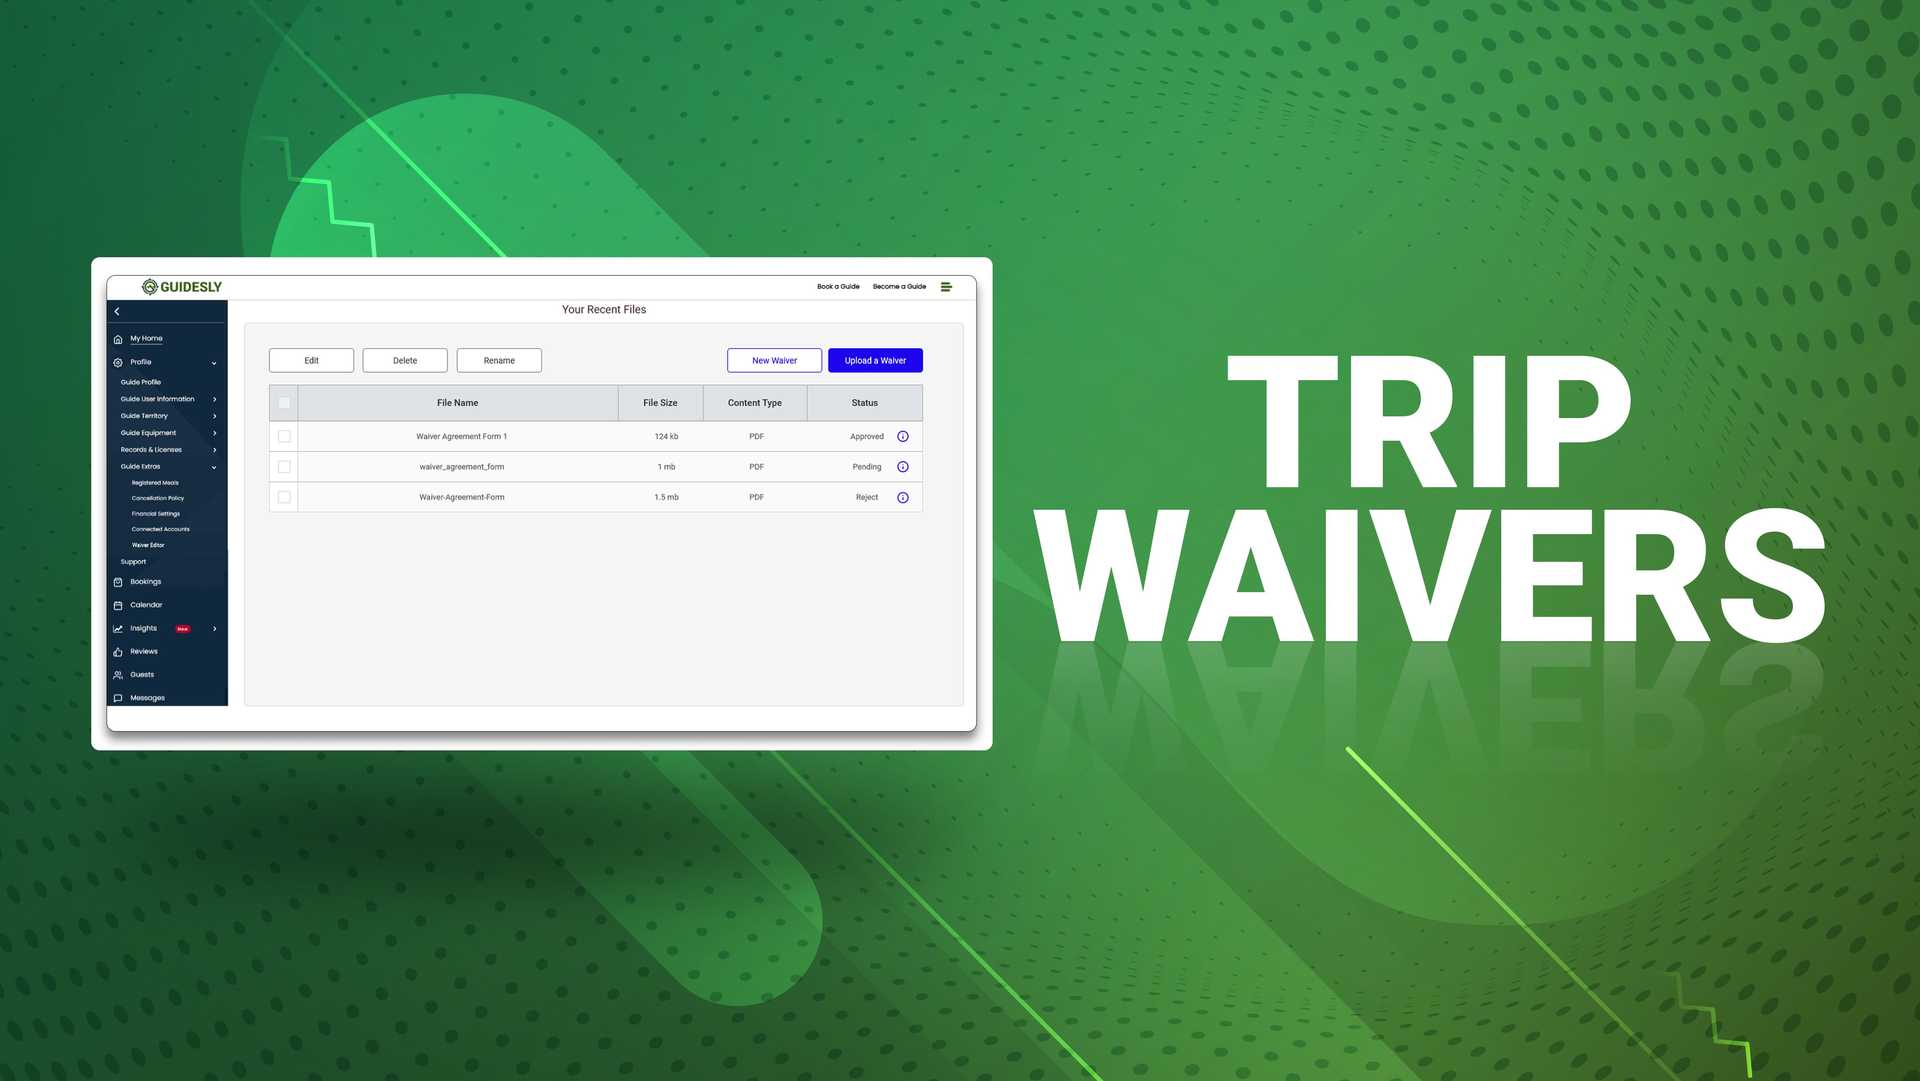
To access your waivers, log into your Guidesly Pro account and go to your profile, followed by the Guide Extras tab, and then click Waiver Editor.
From here, you'll be able to add waivers two different ways- by uploading a waiver or by using our waiver builder to create a new one.
Uploading a Waiver
If you already have a waiver that you use, you can upload it to your waiver editor. You're allowed to upload multiple waivers.

Using the Waiver Builder
The waiver builder allows you to quickly create an interactive waiver for customers. To start, click New Waiver, and you'll be directed to fill out a waiver title and description, as well as checkboxes if you want customers to acknowledge that they have read your waiver and sign their name. You'll also have the option to preview your waiver before saving. Once you hit save, this waiver will be saved in your waiver editor.
The Approval Process
To help you, our guide team will approve each waiver to ensure clarity. You may be asked to edit your waiver, or it may be automatically approved.
Adding Waivers to Rate Cards
The final step of building a waiver is adding it to an applicable rate card. Once your waiver has been approved and is ready to go, find your desired rate card and click edit. You'll now have the option to add a waiver to your rate card. Once you hit save, each time a customer books this rate card they will be automatically sent this waiver to fill out.
Accessing Signed Waivers
Looking for a waiver from a previous trip? To quickly find and view waivers, open up the booking in the Bookings tab. In the booking details, you'll be able to access when the waiver was offered as well as when it was signed.

